BLOG
My Tiny Go-to Astro Lens
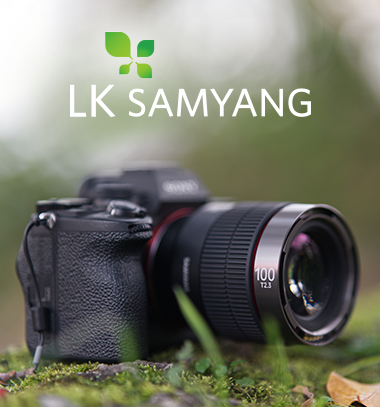
AF 24mm F1.8 FE
Samyang lenses have been my go-to for astrophotography since I had my first long, sleepless night under the stars many years ago. Samyang 14mm EF, 24mm EF, 20mm EF, 24mm E, and 20mm E are all lenses I have owned over the years and they’ve been a big factor in helping me create some images that I am really proud of.
It was a dream come true to be approached by Samyang Lens Global and be asked to be an ambassador for the company. To my delight, my first task was to put the new Sony FE mount, AF 24mm F1.8 FE lens to work and give my findings. The following are my thoughts on the lens, a bit of pixel peeping of the corners, and lastly, sharing a few of my favourite images that I have captured so far.
Amazing Size and Weight
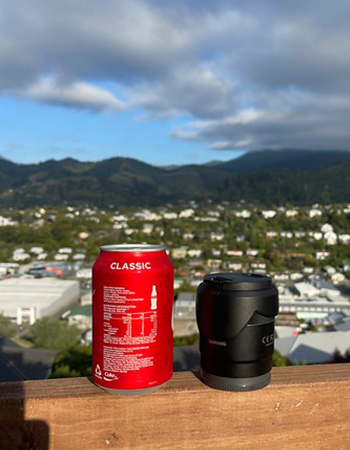
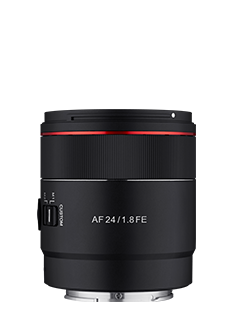
The Lens - The first thing I noticed when I received the lens was its size and weight - wow! It is such a small and compact lens, especially compared to my previous favourite lens from Samyang - the 24mm f1.4. This new F1.8 lens weighs in at 265 grams and is approximately 9cm long and 6.5cm at its widest point. I’m always looking for ways to cut weight when on photography trips, and this is it!
Unboxing
The included zip-up hard case is a fantastic addition, protecting the lens really well while it’s in the camera bag, as well as looking really stylish. The lens has a minimal look with the classic red decorative ring that is common with Samyang lenses, as well as engraved writing indicating the lens focal length and aperture. The lens also comes with a small lens hood, which I find helps minimise lens fog that little bit longer while out shooting in cold conditions, which is always a bonus.
Sharp and Fast F1.8
I love that this lens has a wide-open aperture of 1.8. It means I can stop it down to what I believe to be the sweet spot of around f2.2 or 2.5, making the stars that much sharper, while minimising bloating of stars and keeping coma to a minimum in the often dreaded corners (more on that later). Shooting at f2.2/2.5 is also a great trade-off to still capture as much light as possible. I was so happy to see the back of the camera after those first few shots showed up on the screen. As I mentioned, the 24mm f1.4 was always my go-to lens for Astro. I was delighted to see that the quality of this lens is in my opinion even better than the older model. This lens is SHARP!
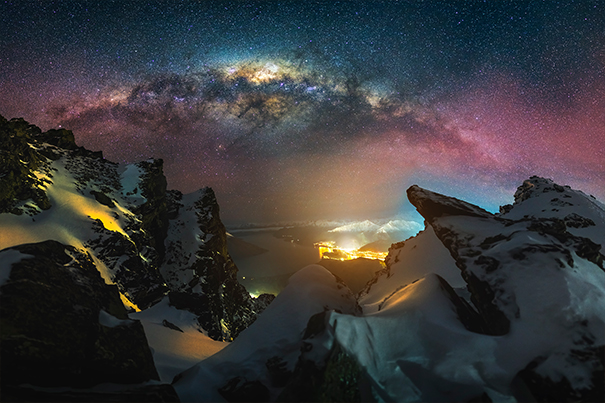
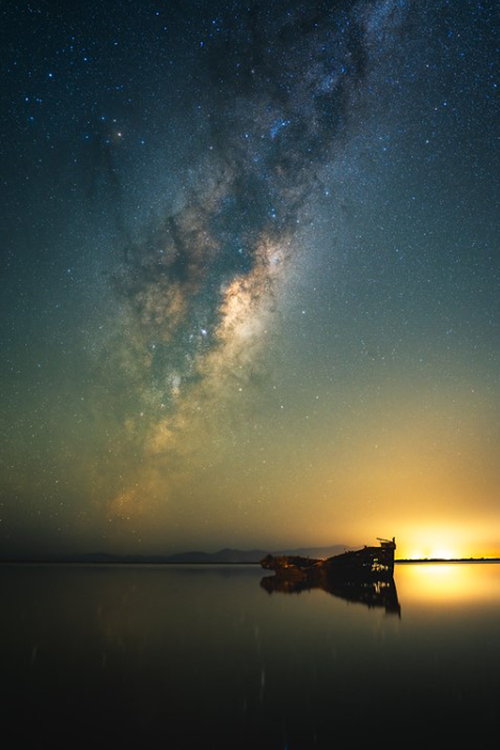
Endless Skies
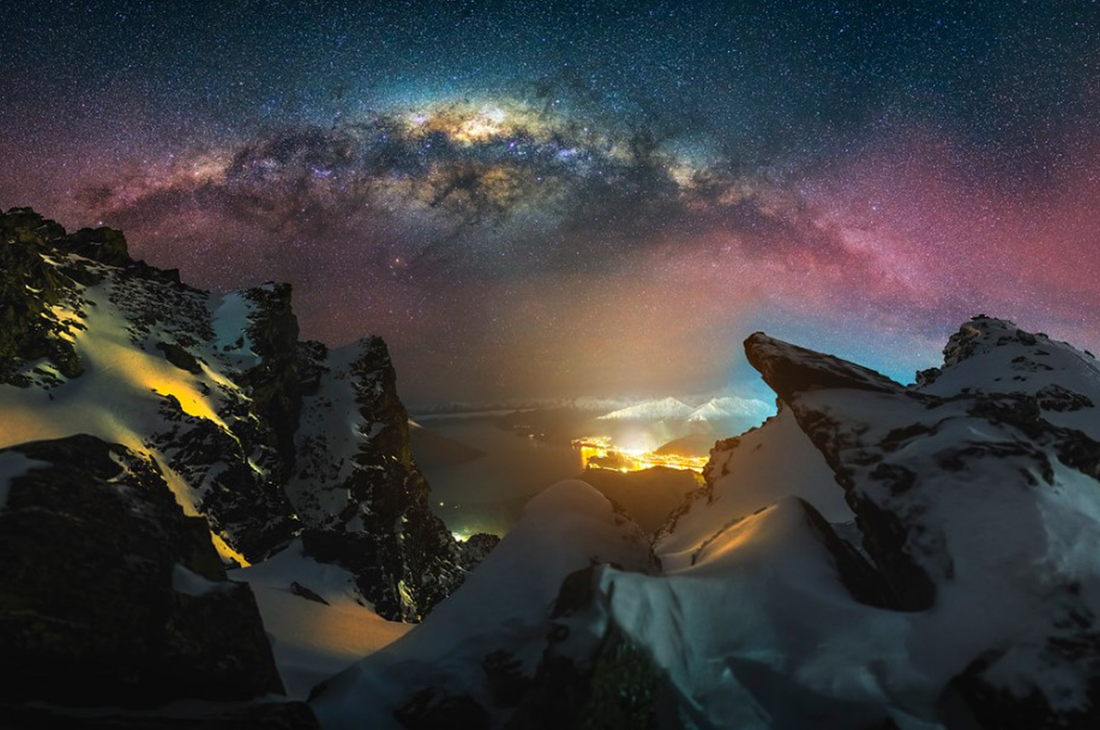
My very first outing with the lens was on a visit to Queenstown with the talented Lee Cook. We decided we would make our way to the top of the Remarkables mountain range and shoot the Milky Way arching over Queenstown. We arrived at the location at around midnight and made our way up to the lookout. To our delight it was eerily still at the top, not a breath of wind and the only sound being the faint hum of snow-making machines in the distance. We shot images for several hours until our toes went numb. This image named "Endless Skies" was the pick of the bunch for me. 16 images stitched together, Untracked, F2.2, 10 second exposures, captured on Sony A7Riii with the Samyang AF 24mm F1.8 FE lens (of course).
F1.8 FE
ILCE-7RM3
F1.8 FE
ILCE-7RM3
Custom Astro Mode
The lens has a special feature relating to the focus hold button called Astro-Focus mode. In a nutshell, pressing the focus hold button while turning on the camera will activate the mode. This automatically sets the focus point to infinity, ensuring super sharp stars every time. If the focus ring is bumped or turned, simply press the focus button again and the led on the lens will flash green, letting you know you are back to infinity. The focal length is also customisable, in case infinity is not quite where you want to be.
I think this function definitely serves a purpose in certain situations, especially if someone has trouble manually focussing on a bright star or whose eyesight is not what it used to be. It is also great for beginners just getting into Astro, as it will save a lot of time and frustration. I'm sure we've all had those nights where we struggled to get pinpoint stars. Personally, I couldn’t help but feel like I wanted to keep double-checking that infinity focus was in fact giving me the sharpest stars, therefore most times I ended up manually focussing. I put this down to habit more than anything though, as every time I double-checked, sure enough, the lens was picking up the stars with pinpoint sharpness. I think this is a feature that I will begin to use more and more as I feel more comfortable with it.
Corners (Astrophotography)
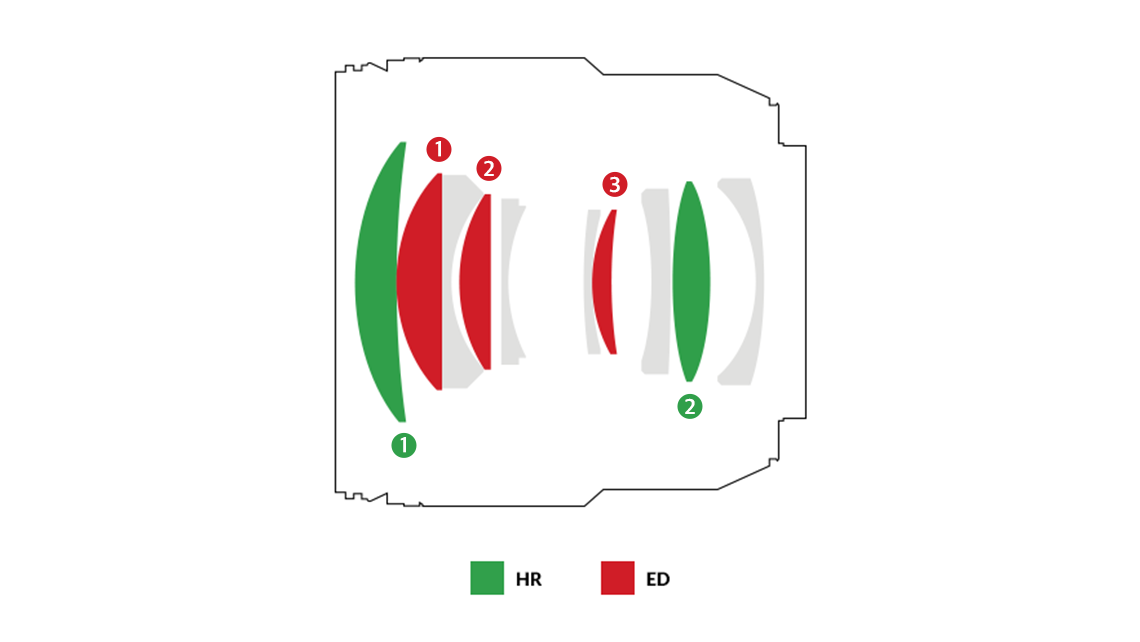
The corners of an Astro image are often the true test of a lens’s performance. The AF 24mm F1.8 FE is advertised as having 11 Elements in 8 Groups, with a UMC coating to minimise Chromatic Aberration and Coma. Doing a bit of pixel peeping, I have to say that this lens does live up to the hype. There's no doubt that like any lens, there is a little bit of CA and Coma present in the corners, but as I stopped the lens down a bit to the sweet spot of f2.2 I noticed this start to decrease. Once I paired the lens with a tracker, I was able to stop down, even more, making the stars pretty damn sharp even in the corners. See below to get some close-ups.
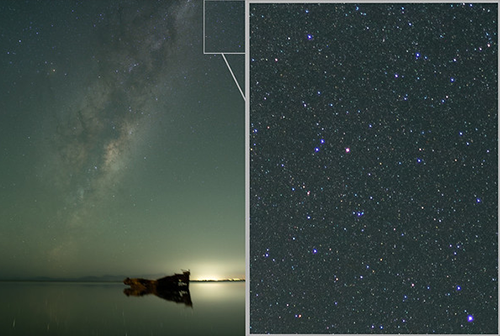
Untracked Vs Tracked

F1.8 FE
ILCE-7RM3
The image on the left is a single, completely unedited image, shot at f2.2, 13 second exposure, ISO 6400. When pixel peeping the corners some Chromatic Aberration and Coma is observed. I suspect the stars are streaky due to the corners of the semi-wide 24mm exaggerating the rotation of the earth, thus causing the stars to streak. In hindsight, I could have countered this by shooting a shorter exposure, such as 10 seconds.
The image on the right was a tracked image, single shot, unedited, f2.8, 2 minute exposure at ISO 2500. There is no questioning the tracker just makes the image that much cleaner and sharper. You will notice there is still some CA present, but those stars are looking so much better, which reaffirms my belief that the corners in the first image were streaky partly due to the long exposure time.
F1.8 FE
ILCE-7RM3
Ghost of Janie
The centre of both images were very good. See the finished tracked image on the left.
Extra Features To Note
The AF 24mm F1.8 is an Autofocus lens, with a stepping motor to ensure the lens focuses not only quickly, but quietly. While I haven’t been using the autofocus a great deal, preferring to use this lens for Astro-photography on manual focus, I have shot a bunch of handheld shots of the family at home as well as some macro images to test out the minimum focusing distance. The autofocus never skipped a beat, focussing quickly and accurately every time, barely making a sound while doing so. I found the advertised 19cm minimum focus distance to be very accurate. I think I’ve found my go-to macro lens!

F1.8 FE
ILCE-7RM3
F1.8 FE
ILCE-7RM3

F1.8 FE
ILCE-7RM3
The custom toggle on the side of the lens is a great feature, allowing me to set Manual switch 1 as MF and Manual Switch 2 as AF, saving plenty of time in the field. This of course can be customised to your personal preference. The weather sealing appears to be very good, meaning I don’t have to worry when leaving the lens out all night shooting timelapse (the amount of dew on my camera and lens in the morning is always a concern!). The shallow depth of field at 1.8 means the lens captures amazing Bokeh and really lets you isolate the subject. The light weight of the lens makes it a great option for bloggers and videographers alike. The lens has a diameter of 58mm for those who enjoy using filters and has 9 diaphragm blades, creating beautiful sun stars.
Summary
In Summary, I am really happy with this lens. I think Samyang has smashed it out of the park. To be able to fit all those features into such a tiny package, while not sacrificing quality is pretty amazing. As mentioned, the size and weight make it a no-brainer for those who like to keep their bags light. It's a lens that I would recommend to experienced photographers as well as beginners. One downside to this lens is that it is currently only available on Sony camera systems, which is a shame as it really limits the number of photographers who can enjoy the lens. Fingers crossed for more camera systems in the future. After my first outing with the lens, I quickly decided that this would be my go-to Astro lens of choice, so I look forward to getting out and creating more images.