BLOG
The American Dream (Preparation)
The American Dream (Preparation)
21 Aug 2017 was a special date, especially to those who are fascinated by astronomy, it was the date which the total solar eclipse, a.k.a. The Great American Eclipse took place across USA. I would love to share my journey to all of you, no matter you are interested in travelling, photography or astronomy, I bet you will like it.
The trip was 2-week long and thus, I am planning to split the trip into 4 different parts and this would allow me to write it systematically. The first one, which you are reading write now is Part 1, “Preparation”.
Preparation is not all about equipment, trip planning and etc., our knowledge has to be levelled up as well - it’s always good to know the physics behind it and what makes this total solar eclipse so special.

Source: timeanddate.com
Firstly, total solar eclipses only occur when the New Moon comes between the Sun and Earth and all three celestial objects are perfectly aligned on a straight line on the same plane. Most importantly, the moon itself has to be at perigee, meaning the Moon is at the closest point to Earth, otherwise, it will cause an annular solar eclipse as if the Moon is at apogee (furthest point) even all three objects are perfectly aligned. Since the Moon is in the moodle, the moon casts its shadow on Earth where the darkest part of the shadow, the umbra, is actually where observers on Earth see total solar eclipses. Similarly, the less dark part of the shadow, the penumbra, is where observers on Earth see partial solar eclipses.
Total solar eclipses are rare and they are natural phenomenon, humans have no power to alter or change the path of where and when eclipses will take place. Thus, the 2017 Great American Eclipse is so unique that it only takes place within USA and also, USA is somewhere considered to be easily accessed, generally speaking. Sometimes total solar eclipses take place in the Arctic, Antarctic or middle of nowhere in the ocean, so it is really hard to have such an ideal location for observing this natural event.

Source: space.com
USA is such a huge country and the path of the eclipse stretches from the West Coast to the East Coast and this causes headaches to not just only foreigners, locals too. Quite a big proportion of people decided to witness the event in Oregon, Idaho and Wyoming, which are considered to have a higher chance of clear sky. Historical data shows that these three states tend to have a clear sky in the morning as the moisture drawn from North Pacific Ocean does not have enough time to condense, unlike the East Coast that it is highly likely to have some patches of clouds or even overcast. There are also some factors to be taken into account, for example, traffic and route planning. It is estimated to have severe traffic jam right after the event is finished. Nonetheless, it is always good to choose a site next to some highways and the best thing about Idaho is that the roads are kind of west-east direction, meaning that I can keep on travelling along the path of the eclipse either towards east or west, as if the weather is not promising. Moreover, there are quite a few well known national parks nearby to visit (for more information, please stay tuned).

Source: eclipsewise.com
As a result, somewhere near Howe in Idaho has been picked as our observation site. Recently, a large patch of land in central Idaho has just been designated the first International Dark Sky Reserve, making our road trip sounds more meaningful and shooting stars in a real dark site.

Source: www.lightpollutionmap.info
Wilderness is always unpredictable, we are so glad that we have chosen Idaho as our observation side because there were wildfires in Oregon which the smokes and dusts have covered quite a large area and Idaho was not affected by much. We did not take this factor into account otherwise we will be forced to change location and causing harasses.
Photography Equipment
This road trip means a lot to me and I do not wish to miss out any single opportunities, thus I have carried quite a lot of gears comparing to my previous ordinary travelling. It is always important and good to know what objects you are targeting to capture and preview the areas nearby using Google maps, images taken by other photographers and some travel guides.

(Taken with Huawei P10 Plus)
This is the list of equipment I have carried and used during the road trip.
Camera | Canon EOS 6D mark 2 | Main camera |
Canon EOS 6D | Secondary camera, for startrails | |
Canon EOS M (mod) | Purely for astro imaging, more sensitive to red colours in emission nebulae | |
DJI Mavic Pro | For aerial photos and footage | |
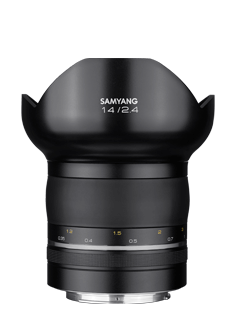
Lens | Samyang XP 14mm F2.4 | Daytime photos & astroscape photos |
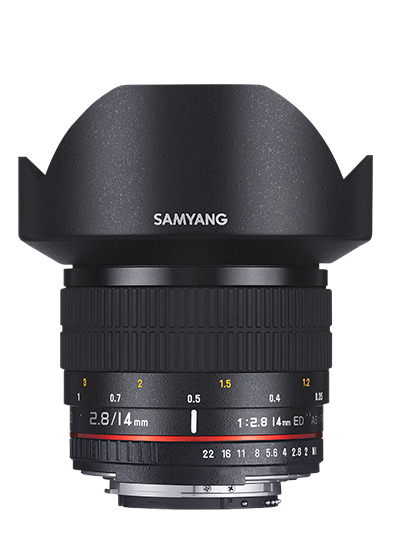
Samyang 14mm f/2.8 IF ED UMC Aspherical | Astrophotos (mainly for Canon EOS 6D, but sometimes used by Canon EOS M) | |
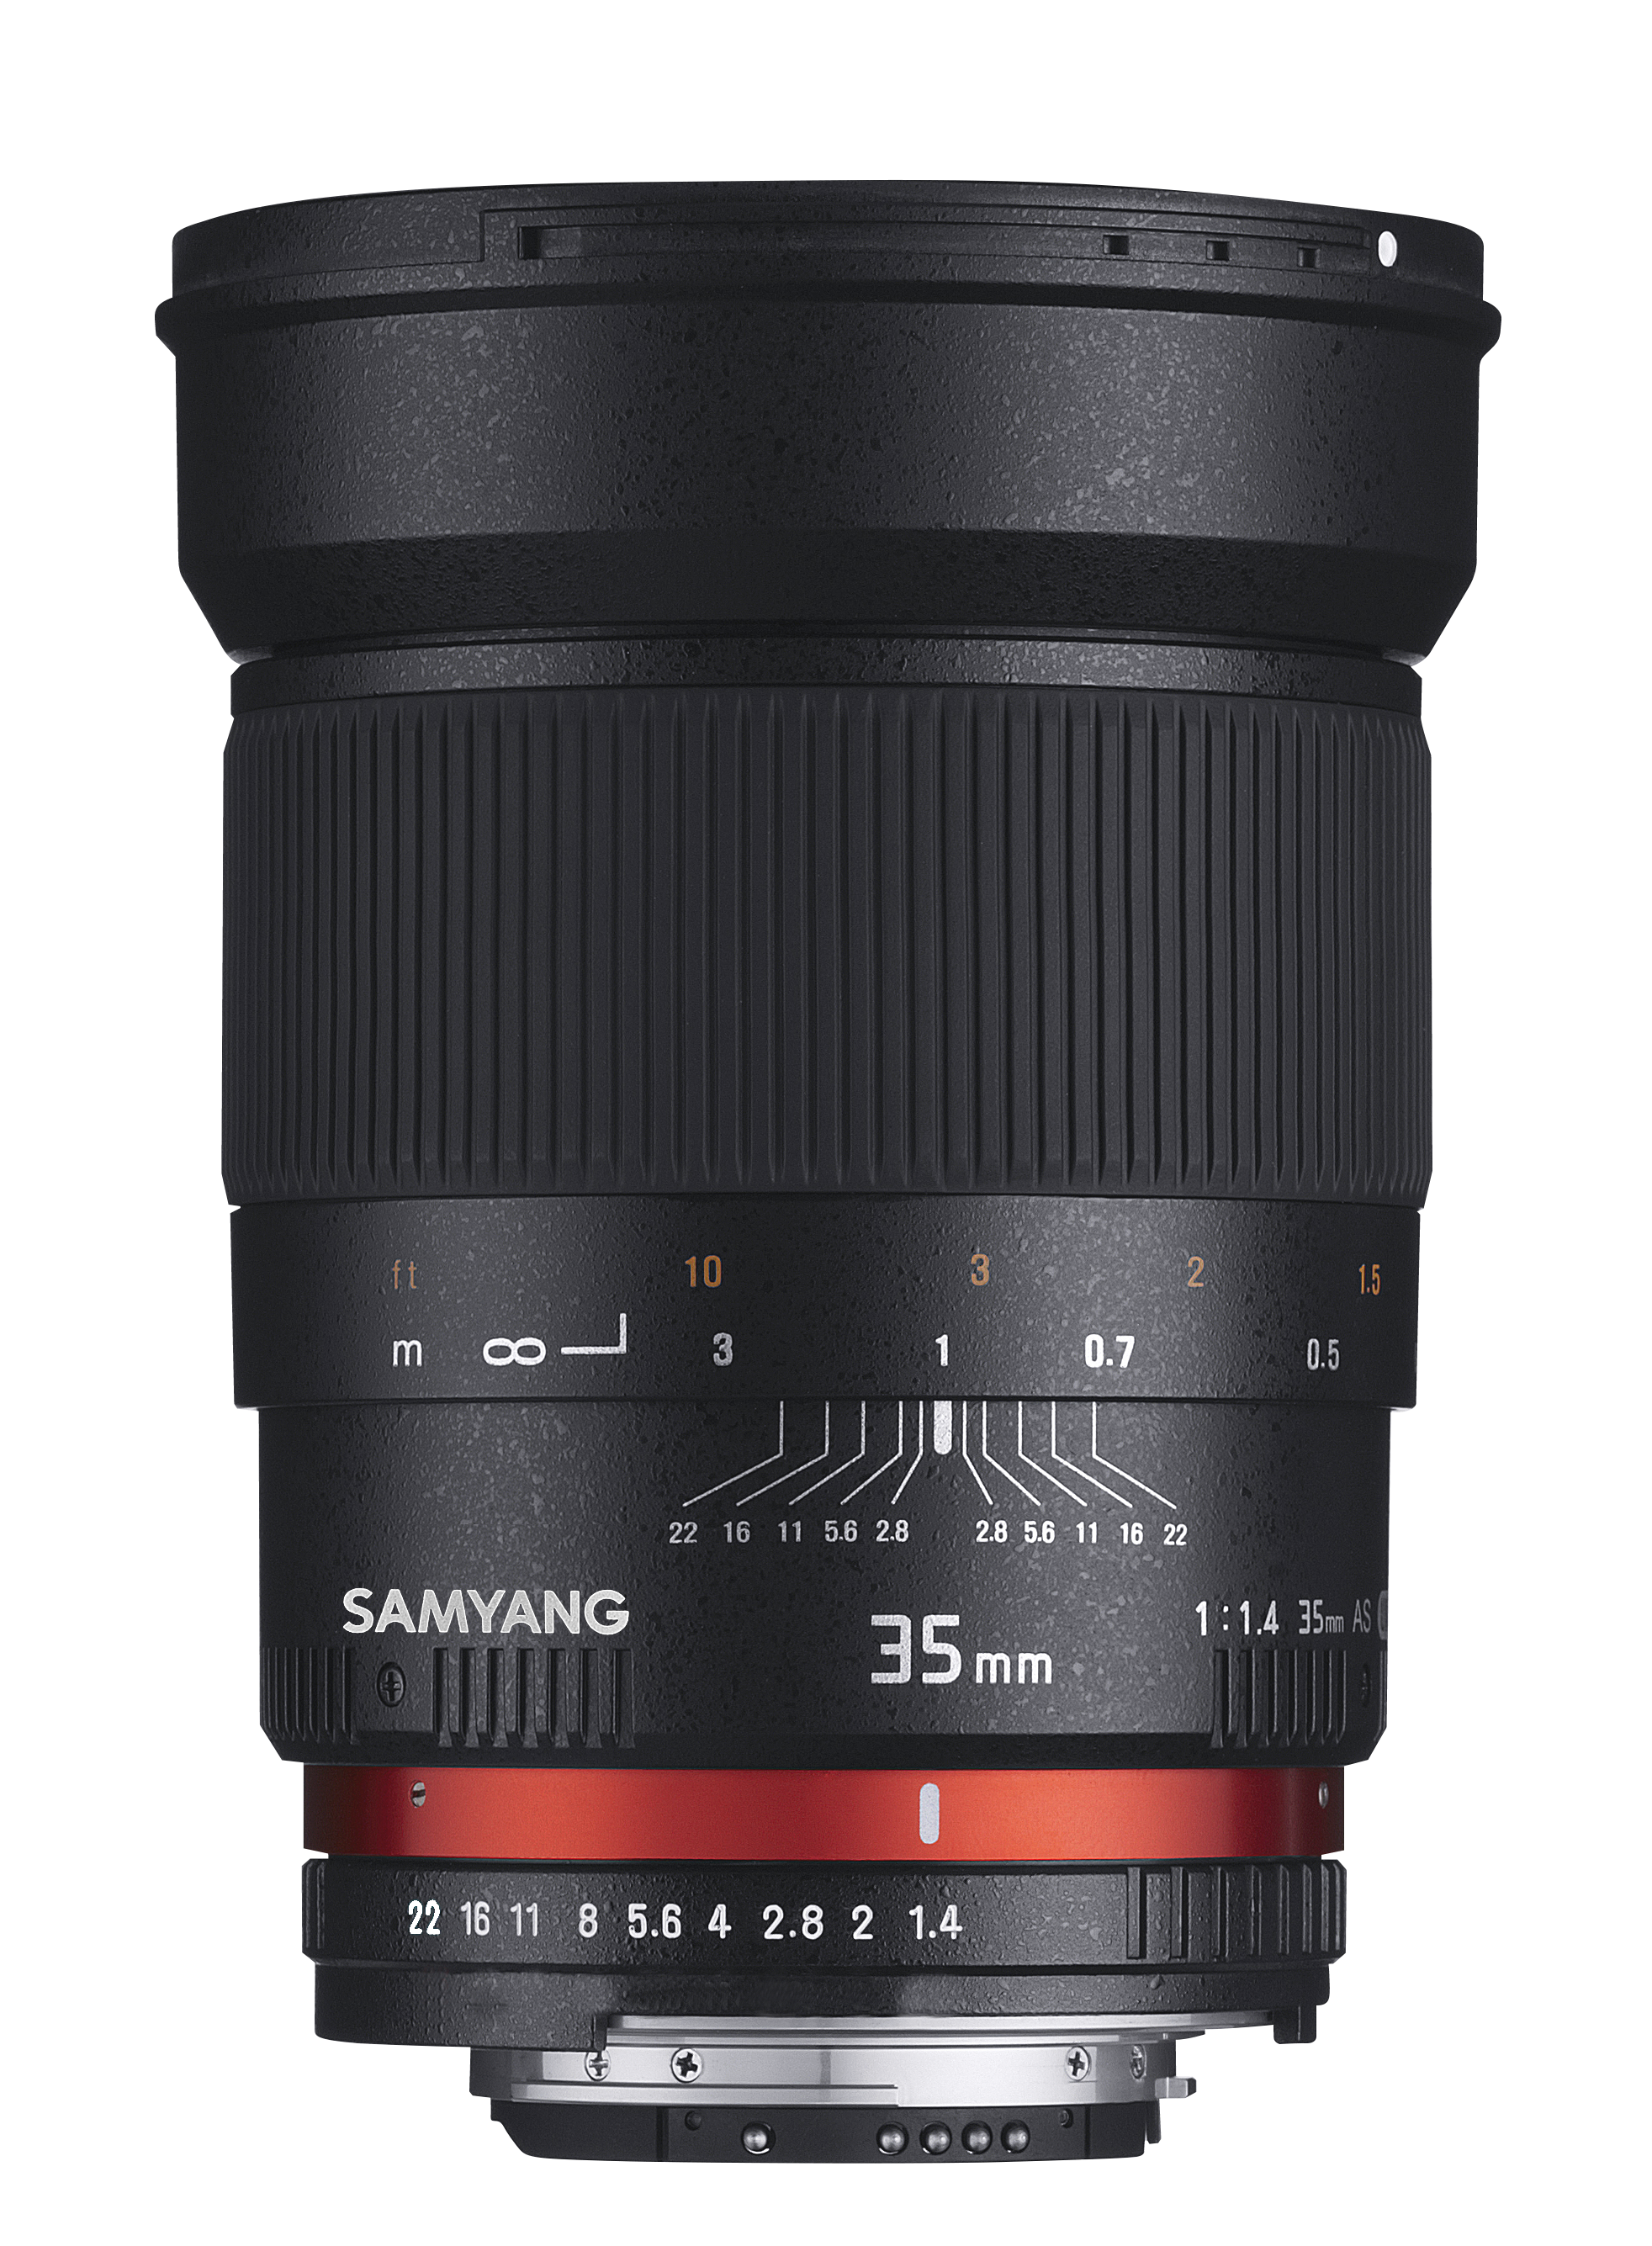
Samyang 35mm F1.4 AS UMC | Daytime photos & astroscape photos | |
Canon EF 17-40mm f/4L USM | Daytime photos | |
Canon EF 200mm f/2.8L II USM | Wildlife / Solar Eclipse | |
Tamron 55BB (500mm f/8) | Wildlife / Solar Eclipse | |
Accessories | Canon Extender EF 2x III | Achieve 400mm focal length with EF 200mm / 1000mm focal length with 55BB |
CPL filter | To get a more vivid and darker blue sky / a more creative water surface | |
Batteries | 6 pieces for 6Dmk2 & 6D, 2 pieces for EOS M, 3 for Mavic Pro | |
Tracker (Mount) | Skywatcher Star Adventurer Mini | To track celestial object, mainly use for the solar eclipse |
Vixen Polarie | To track celestial object, mainly use for the Milky Way | |
HL - 1 | To track celestial object, mainly use for the Milky Way |
It is also recommended to bring as many spare batteries as you can, however, do not breach the flight regulation about lithium batteries. Check the regulation of the aviation authority and the airline you are travelling beforehand.
Clothing
The first thought of summer is short sleeved shirts, shorts and no jackets are needed at all. Play safe is always the key word, especially when you are intended to stay in the wilderness for days. Check the historical and weather forecast beforehand is essential, this allows you to prepare well and less chance of causing accidents. Luckily, the temperature range is rather consistent throughout the trip, and it ranges from 0c (or 32F) at night to around 30c (or 86F) in daytime.
Relative humidity also plays an important role, apparent temperature varies with humidity. High relative humidity makes apparent temperature lower when the actual air temperature is low and higher than the actual air temperature when it is hot, where low relative humidity makes the apparent temperature not so different to the actual air temperature. Keep yourself warm during the night time and cool during the day time is a very tough task...
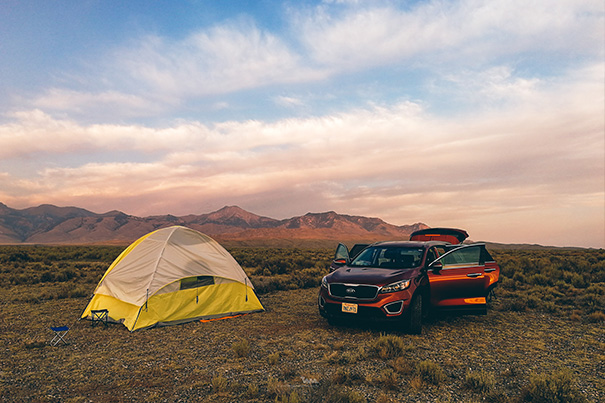
Vehicle

(Taken with Huawei P10 Plus)
In my opinion, you should go for a four-wheel drive (4WD) instead of front-wheel drive, especially you are going to rent one from providers. Some adventurers might drive on unpaved roads or even off road and it is always fine on a sunny, dry day. When it starts to rain, the road condition may cause you troubles. The capacity of the trunk / boot / compartment is very important, especially you have to carry all the luggage, foods and drinks and also other necessaries. Sometimes you may wish to lay your seat down for a better rest or just to have a bigger room. The number of car charging slots also matters and do make sure they are working fine before leaving the car rental places. You can charge your phone, extra power banks, camera batteries, drones and spare batteries you name it. It is critical for photographers who are planning to stay and keep shooting in the wilderness for couples of days without any generators.
RV is also a good option as long as you will not get into cities and the price is relatively much higher than renting 4WDs and SUVs.
Accommodation
Since this is more an astrophotography trip than any ordinary trips, accommodation seems to be not so necessary because we spend our nights outside enjoying the night sky. However, the possible photography time is limited by the number of fully charged batteries. Thus, having a place to stay over and get the batteries charged is important. For example, we roughly use up at least 1 fully charged battery every day, meaning that we need to have a proper accommodation in town / city in every 3 days.
We spent our daytime resting in the car or under shades, that’s why the capacity of the vehicle has to be big, to get a better, more comfortable environment. In average we rest around 3 to 4 hours and spend the rest of the daytime on sightseeing and scouting locations.
Keep yourself safe from wild animals in the night time as wild animals, especially the nocturnal ones start to get more active.
Food and water

(Taken with iPhone)
As mentioned, we go to town / city in every 3 days in order to get refill our food box. Past camping experience will definitely help you out as you know what kind of food is to get prepared and to cook outdoor. Our meals are rather simple:
● Breakfast - bread with spread
● Lunch - Fruits (or mixed fruit in water) and snacks or cup noodles
● Dinner - Pasta in soup paste or cup noodles with sausages and corn or mash potato

(Taken with Huawei P10 Plus)
We tend to have rest after breakfast and after lunch, that’s why the meals are relatively light compared to the dinner.
Keeping yourself hydrated is important, throughout the trip we have consumed over 100 bottles of water and a few gallon bottles as well, mainly for drinking and cooking. It is always a nice thing to have a warm drink during the long cold night outside.
Bear in mind that, wild animals like birds, small mammals or even foxes, wolves and bears may be attracted by the smell of the food and please take good care of the food remaining. To sum up, preparation is important and a must for events and trips like this. In Part 2 “Idaho”, I will share the photos taken, including the solar eclipse photos, inside Idaho. Please stay tuned.